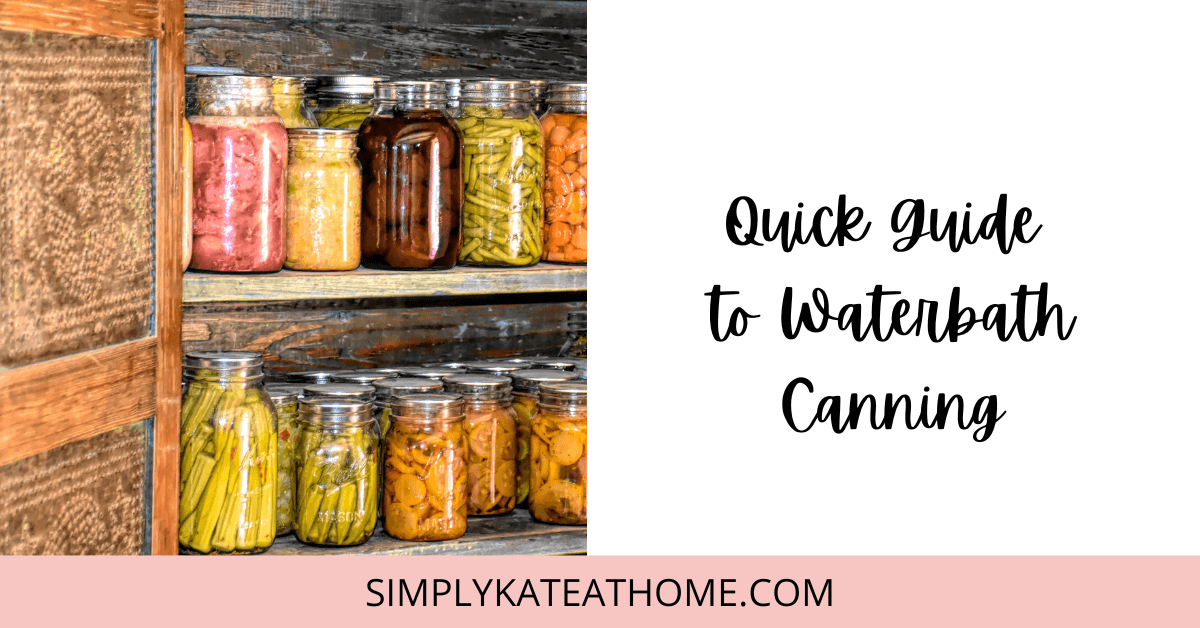
Quick Guide to Water-Bath Canning at Home
Quick Guide to Water-Bath Canning at Home
Water-bath canning is a food preservation method as old as time. It’s the only way I can my garden bounty (and the farmers market haul!) to preserve it through the off-season.
For years now I’ve been water-bath canning at home and it’s truly such a joy. I’m often (lovingly) teased about my old-fashioned passions but there is nothing more delicious than a freshly opened jar of home-canned pasta sauce or crunchy dill pickles!
Water-bath canning is simple and seriously low-cost, making it a great way to preserve your hard-earned garden vegetables and fruit.
Keep reading to see how I do it, and what I’ve found the best practices to be!
Note: Simply Kate At Home is reader-supported. When you buy through links on our site, we may earn an affiliate commission. You do not pay a higher price. This blog post probably contains affiliate links.
What Can You Water-Bath Can?
Water-bath canning is super versatile however, it does have its limits. It is only for high acid foods. There’s no rule-bending on this one! Tomatoes, berries, fruit, and pickled vegetables are the main food items we’re talking about here. The natural acidity in these fruits and vegetables is what makes water-bath canning tomatoes, for example, safe to do.
Water-bath canning is absolutely not recommended for meats, seafood, chili and beans, corn, and other low-acid things. Low-acid foods require a much higher temperature to kill harmful bacteria than a water-bath canner can provide. If you’re feeling adventurous, you can dip into the world of pressure canning to can those types of foods.
Okay, so now that we what you can can (hah!), let’s get down to the dirty details.
At-Home Canning Tools
Water-bath canning is super low-cost and only requires a few tools to be successful. There’s no need to go rushing out to the store to spend hundreds of dollars on equipment—there’s a good chance you’ve got a lot of the equipment already at home.
Here’s what you’ll need to get started (a printable checklist is here!):
- Canning mason jars. Ball or Kerr jars are my favorite and can be found at nearly every grocery store or farm supply store. They come in many sizes, but the ones I use the most are regular-mouth pint and quart jars.
- Single-use canning lids to fit your jars. Each time you can, you need to use new lids to ensure the seal is maintained. They come in regular and wide-mouth versions.
- Deep stockpot or dedicated boiling water canner. Your water-bath canner must be deep enough for the jars to sit on a rack at the bottom of the pot, while also having at least a couple of inches of headroom above the jars. They cannot touch the bottom for a variety of safety reasons, so make sure you have one. In the past, I’ve used the canning rings themselves on the bottom of the pot, and that keeps the jars off the bottom just fine.
- Metal bands. These screw onto the threaded bands on the jars and keep your lids on while processing in the water-bath canner. Typically they come with the jars (and lids) if you buy them in a new pack. They can be reused too! So keep them clean, rust-free, and dent-free to ensure a good fit.
- Funnel. To get your goodies in the jar (think pasta sauce and other saucy items) you’ll need either a metal or plastic canning funnel. They have a wider spout to allow for food to get into the jars without making a mess of the rims.
- Ladle. I think this is pretty self-explanatory.
- Jar lifter. I bought mine eons ago in a canning kit that Walmart sold, it was relatively inexpensive. I’ll link it here.
- Big ol’ stockpot for cooking down your delish creation. I use a Lodge dutch oven for the most part, but I’ve also recently acquired a new Caraway (*swoon*) dutch oven that is a little larger for the big endeavors.
A little note about cooking surfaces before we move on… Water-bath canning is great for either electric or gas stovetops. Do NOT can in an oven, Instant Pot, microwave, or dishwasher… Yes, I had to say it, because yes, it happens. And while Karen may tell you she’s done it for a million years and never died… let’s just not risk it, okay? These methods have not been tested on their ability to kill bad bacteria, toxins, mold, or yeast.
Alright, now that you’ve gathered your supplies and are standing triumphantly in your kitchen ready for the next steps… what are the next steps?
Water-Bath Canning Recipes
There are a million tried, tested, and true recipes online for water-bath canning foods. One of the major sources of tested recipes is the Ball Blue Book and has everything from tomato sauce to chutneys, plus everything in between. You can pick it up on Amazon or at your local book store, and sometimes Walmart even has it in stock.
You’ll want to start off with well-known and tested recipes as they’ll set you up for success as you learn to can.
Water-Bath Canning Step-By-Step
These steps are laid out very specifically, so be sure to read through the entire list before you get going.
- Prepare your recipe as described.
- Heat your empty jars by boiling another pot of water, and submerging them (lids and rings off) until you are ready to fill them. Boil for at least 10 minutes prior to filling them.
- In your water-bath canning pot, fill about ¾ of the way with water, add your rack, and bring to a simmer.
- When the jars have boiled for 10 minutes, remove and dry them. While still heated, ladle the heated recipe into heated jars carefully. Most recipes will tell you the required headspace to leave at the top of the jar, most are ¼- or ½- inch.
- Gently, use a small spatula or plastic knife to release trapped air bubbles. They’re tricky sometimes (looking at you, apple sauce), but do the best you can.
- Wipe the rims of the jars with a damp cloth to clean them of food residue. Place the lid on top, and screw on the ring, just until finger tight. Aka, you’d be able to unscrew it without the Hulk’s help.
- Use your jar lifter to gently place the sealed jars in the water-bath canner on the rack. Once they’re in, as many as you can fit without crowding them or jamming them in, add hot water to the pot to cover the jars about 1 to 2 inches over the lids.
- Crank that puppy up and boil! We need a robust boil here, not a flimsy couple-bubble boil. Once you’ve got that rolling boil at full tilt, start your timer for the recommended time on the recipe. Many recipes call for about 10 minutes, but each is different so make sure you check. ALSO, if you’re at a higher altitude, check out this chart to make sure you’re processing for the right amount of time.
- Turn off the heat and let the canner rest for 5 minutes. Take a potty break, scroll Pinterest (my page is here!), or grab a quick snack.
- This is my FAVORITE part. Lay a dishtowel on your counter, away from little grabby hands, and remove the jars from the canner using the jar lifter. Place them gently down on the towel, not touching each other, and leave them to rest for 12 to 24 hours to cool. DO NOT TIGHTEN THE BANDS. I promise you don’t need to. If you do, you risk unsettling the lid from its sealing magic and you’ll spoil your goodies. Listening to the jars “ping” is the most satisfying part. That means they’ve sealed nicely, yay!
- After your jars are completely cool, unscrew the bands and press down (gently!) on the center of your lids. They should not move or make noise. If it presses down and/or springs back… it’s a flop for the shelf. BUT don’t cry, pop it in the fridge with the ring and lid on and eat within 2 weeks.
That’s it! You did it! Those tasty little jars are shelf-stable for up to a year, but I’d be willing to bet you’ll eat them up much faster than that.
Tell me, what did you can your first time using a water-bath canner at home? I’d love to know!


